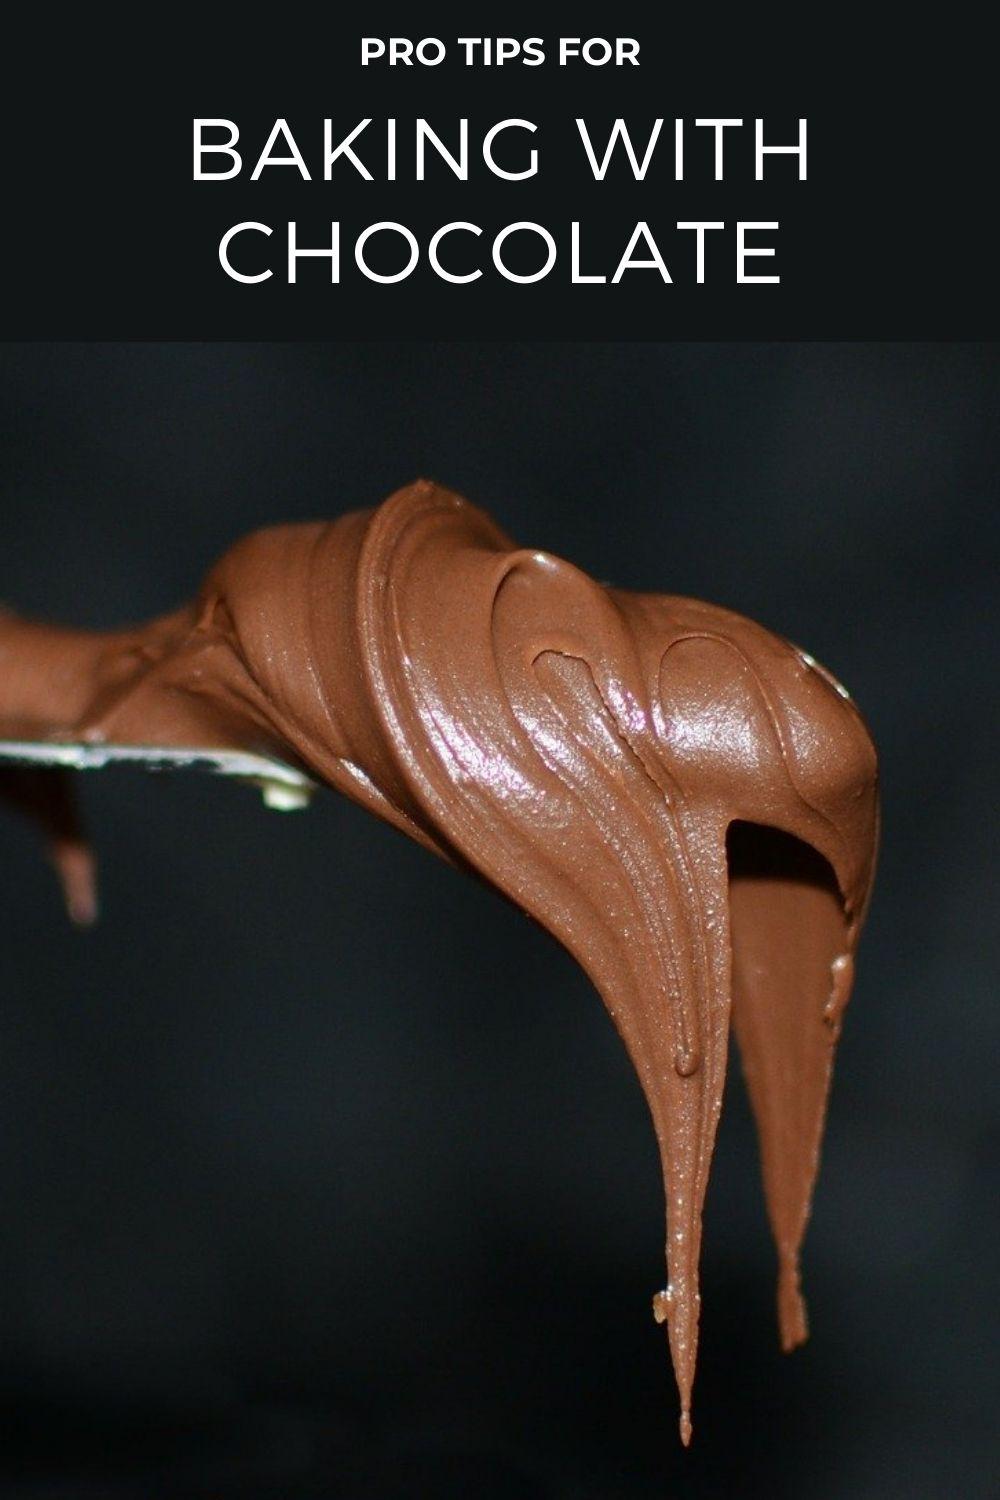
10 Hot Tips for Baking with Chocolate
Chocolate is the number one food for romance. Not only is chocolate one of the world’s best-loved aphrodisiacs, it is one of the most popular, and trickiest, ingredients in baking. But baking and particularly making a sweet treat for someone special in your life should be a pleasure. And the results should be something delicious you can enjoy together. So I’ve turned to one of my favorite bakers, award-winning pastry chef Chrysta Wilson to put together her 10 best tips for baking with chocolate to make romantic desserts easy, tasty and aphrodisiac.
1. Choose the right cacao percentage
If you’re going to follow only one new tip to improve your baking skills, you need to read this one about types of chocolate. You’ve probably seen chocolate bars with a percentage on the label: 45%, 55%, 75%, and so on.
What is a cacao percentage?
The percentage you see printed on the outside of the bar refers to the amount of cacao (e.g. cocoa beans, the pods from which chocolate is made) in that chocolate product. So what is the best chocolate for baking?
The higher the percentage of cacao, the deeper and richer the chocolate flavor. For intense desserts with boosted antioxidant (and aphrodisiac) effects, skip the milk chocolate (which is around 45% cacao). Instead, move on up to semi-sweet and dark chocolates (which range from 50% cacao to 75%+).
2. Measure cocoa powder correctly
Cocoa Powder is essentially a lower-fat ingredient that still delivers a pure chocolate flavor to your baked goods. It’s lower fat than chocolate because it’s cocoa butter-free. But powdered cocoa is a product that can clump.
To ensure proper measuring, first, stir the cocoa powder. Next, use the “scoop and level” measuring technique for a proper measure: Take a spoon and scoop the cocoa powder into your measuring vessel (i.e. measuring cup).
Then, level off with a straight edge. The most important tip to baking with cocoa powder is to make sure you do not press or compact the cocoa powder into the measuring vessel. Or it will throw off your entire recipe.
3. Understand the melting point of chocolate
Overheating chocolate can spoil the flavor and change the texture of the cooked chocolate. Dark Chocolate shouldn’t be heated above 120 degrees Fahrenheit. And milk and white chocolates shouldn’t be heated above 110 degrees Fahrenheit.
4. Melt chocolate the right way
Because chocolate can burn easily you should use low, indirect heat to melt your baking chocolate. Three smart ways to melt chocolate include using a water bath (a bowl of chocolate over a bigger bowl/pot of near-boiling water), a double boiler (specialized set of fitted saucepans that utilizes steam/boiling water to slowly cook contents of the top pot), or – slightly more tricky – in the microwave (putting chocolate into a glass bowl and slowly melting in 30-second increments at 50% power).
Click to shop for the best double-boiler
However you melt it, there is one key chocolate tip you must always follow. Before you begin always ensure that chocolate is chopped, grated, or cut into uniform-sized pieces. This will ensure even melting.
5. Temper chocolate correctly for dipping or chocolate coating
Tempering chocolate is a method of heating and cooling chocolate for coating or dipping things like cookies or fruit or making chocolate candy, like chocolate truffles with a hard shell.
When chocolate is properly tempered, the result is tremendously smooth, glossy and picture-perfect. Chocolate tempering is a technique you will want to master if you want to make chocolate gifts.
Tempered chocolate has a crisp snap and won’t melt as easily on your fingers. Of these tips for baking with chocolate, this is one of the most simple but one with the most noticeable results.
How to temper chocolate
To temper your chocolate, finely (and evenly) chop the desired amount. Next, place two-thirds of that chocolate in the top pot of a double boiler. Heat chocolate over hot (not boiling) water, stirring constantly until chocolate reaches 110°-115°F.
Remove the pot of chocolate from the heat and place on a towel on the countertop. Cool the chocolate to 95°-100°F.
Lastly, add the remaining one-third of chocolate to the cooled chocolate, stirring until fully melted. This perfectly tempered chocolate is now ready for molding, dipped, or coating!
6. Use the right kind of cocoa powder
This tip for chocolate baking will appeal to science enthusiasts. There are two types of unsweetened cocoa powder: Natural cocoa powder and Dutch-process cocoa powder.
Get to know the two kinds of cocoa powder
Natural cocoa powder, like Hershey’s, is simply chocolate liquor (ground-up cocoa beans) with much of the cocoa butter removed. Dutch-processed cocoa is similar except that it is alkalized (has less acid) and it has a milder flavor and darker color (often reddish) than natural cocoa powder.
Baking is a chemical process as much as it is a delicious one. Recipes often call for the addition of an acid to react to a base/basic, causing chemical reactions like the development of carbon dioxide that causes baked goods to rise.
Natural cocoa is an acidic ingredient, so when mixed into a batter it is often accompanied by baking soda (a base) to create the carbon dioxide in a batter to help the final product rise.
Because Dutch-processed cocoa is low acid, it will require more acid (like baking powder or buttermilk) added to the batter for it to properly rise. If you’d like to learn more, the LA Times Test Kitchen went in-depth into which recipes work best with each type of cocoa.
7. Keep your chocolate dry
Good chocolate is simply fat (cocoa butter) and dry particles (sugar and cocoa powder). When chocolate gets wet, that liquid will attach to the dry particles, causing the chocolate to “seize”, e.g. turn into a dry, grainy, clumpy mess.
And keep your baking equipment dry, too
Make sure your utensils (spatulas, spoons) are dry and clean; the tiniest amount of water can ruin the chocolate. Sometimes recipes will call for chocolate to be melted via liquid, such as liquor or milk. The general rule of thumb to help avoid seizing is that for every 2 ounces of chocolate you wish to melt, you should use 1 tablespoon of liquid.
8. Use ganache for glazes, truffles, and drinking chocolate
…maybe even homemade chocolate body paint. A perfect glaze for baked goods, also reportedly used for sensual, edible body paints, ganache is one of the easiest chocolate recipes and one that always impresses.
Ganache is a chocolate “condiment” that can be used as a glaze when warm and when cooled can become a spreadable filling or topping. It can even be used to make truffles or added to warm milk for the perfect cup of drinking chocolate or hot chocolate.
RELATED: How to make ganache with Chrysta’s recipe
The basic steps to make a ganache
One of the best chocolate baking tips is to learn how to make an easy ganache.
Chrysta’s recipe is to melt chocolate into an equal amount of heavy cream. (Measure the chocolate by weight.) For example, take 6 ounces of semi-sweet/dark chocolate and add to 6 ounces of hot (not boiling) heavy cream.
Let the mixture sit for 2 minutes, then whisk until the chocolate is completely incorporated. (You can view her recipe in the chocolate cake link above.)
9. Prepare pans with cocoa powder instead of flour
When making a chocolate layer cake, utilize cocoa powder instead of flour when greasing and “flouring” your pans. You still get the non-stick result, but you won’t have a white floury residue on the final cake.
10. Choose the best chocolate for melting
The last of Chrysta’s tips for baking with chocolate is without question one of the best chocolate-making tips.
Chocolate chips have stabilizing/hardening ingredients that help them keep their shape with baked – think of how the chips in chocolate chip cookies still have that perfect chip shape after baking. That may be great for a good-looking cookie but it makes for terrible melted chocolate.
Utilize the best chocolate to melt, such as a quality chocolate bar that’s evenly chopped into small pieces or chocolate melting discs (but not chocolate melts).
Order Chrysta’s favorite baking disks from Amazon.com
Whether you’re making someone a tasty chocolate treat for Valentine’s Day or as the ending to a romantic dinner, these great chocolate tips will serve you well.
- Should You Use Moringa Powder for Sex? A Moringa Powder Review - April 11, 2024
- Carrot Juice Bloody Mary Mix: a sweet & sexy twist on a classic - March 21, 2024
- Authentic Japanese Shrimp Tempura Recipe - March 18, 2024
Did you know that eating the right foods can be the key to boost your sex life?
And we're going to help you start right now. Subscribe to Amy Reiley's private mailing list for weekly tips, recipes and honest advice. As a bonus, you'll get her exclusive list of Six Great Sex-Boosting Snack Foods for FREE!


Leave a Reply
Want to join the discussion?Feel free to contribute!